Sliding doors
The Iveco daily III sliding door is designed to not close properly and generally look crap. It is worth acknowledging that this has taken effort to make something this bad and we should all be grateful that it gives us the opportunity to waste hours trying to rig it properly.
 |
| fig1 |
I was clearly not the first as the van came with a new door latch, a couple of pin cavities and a gutter had been fit above the door. The gutter is a great work around for a leaky door regardless of fit.
A fair bit can be achieved with the rigging available in the door which I will give a quick overview of here.
The door adjustments available are as follows:
Forward upper arm - extend retract via pinch bolt.
Forward lower arm - raise/lower front edge via 3x mounting bolts and a small amount of adjustment via 2x arm attachment cap head bolts.
Forward pin cavities - move to accept door pins by loosening 2x bolts.
Aft latch pin upper - loosen pin with 13mm DD socket and align to pull in aft upper corner.
Aft latch pin centre - adjustment to align with door latch.
All of the electrical contacts can also be adjusted for alignment.
Any adjustment in rig will generally cause the diagonal opposite corner to do the opposite of whatever you are adjusting. As a rule, you want the upper edge tight at the cost of the lower as water tends to run down the van more than it is splashed up.
Where adjustment doesn't succeed, P seal can fill the gap. Often supplied on 3m tape, this stuff can be a big help. A bit of silicone sealant on the ends can help prevent it lifting over time, keeping things tidy.
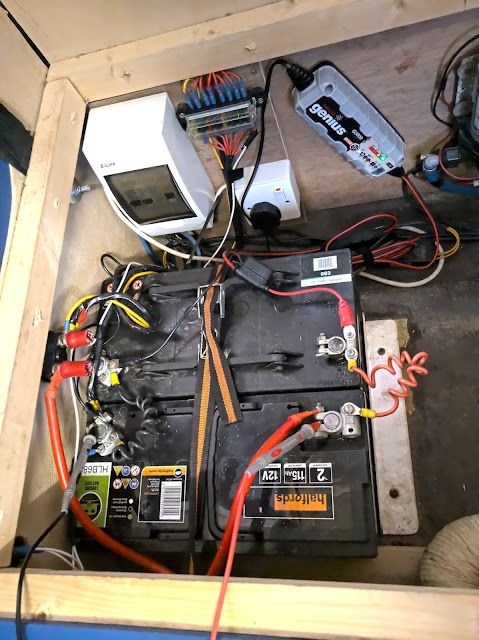
When I first acquired the van the door alignments was so bad that the contacts for the lighting and central locking didn't even align. With a bit of a lube and rigging I was able to achieve the fit in fig1. This was usable but I did want a bit better.
Although I had cleaned and lubricated the runners, on later inspection I noticed that the forward lower arm I have fitted is for a later mk IV and after (the wheels are smaller and there is a little scraper at the front) but also the nylon tyre was missing off of the bottom wheel causing the front to be sat low even at full adjustment. A check of eBay showed that the later arms were being sold as mk III fit so buying a new one would not solve my issue. A replacement wheel set is only a fiver is a sensible idea but I am; 1 stingy, 2 a hater of waste and 3 own a 3d printer.

fig2.1 nylon wheel on petg raft.
A few measurements, 10 minutes of fusion 360 and another 17 printing later had a new nylon tyre printed.
The whole arm was caked in grease and pubes so a trip to the degreaser bath was needed.
I had designed the wheel to be a tight fit so I fettled it till a tight push fit could be achieved. A thin bead of super glue and a very tight fit should keep the wheel on which was squeezed on with a set of parallel jaw pliers.

fig2.2 fresh tyre.
The wheels were then well lubed with lithium grease and slapped back together with a couple of thick washers set between the two arms to give a little more height.
All of this effort succeeded in making a barely noticeable difference in the front edge fit. It was more noticeable inside the door where all of the latch cups needed adjusting to meet the new position.
Baby steps will no doubt continue where the door needs to come further forward in order for the forward lower corner to pull in at which point the upper corner will need to come out to facilitate this. At least the forward edge gap is finally parallel if a bit big.

fig 3

Comments
Post a Comment